“Help! My images are blurry!”
 The lighting, cameras and lenses we use allow us to capture razor-sharp images of the products we photograph, and we maintain that image sharpness through every step of the editing process. Even still, we sometimes hear from clients who tell us that we need to fix their images because they’re “blurry”, “soft” or “out of focus”.
More often than not, the problem is caused by how the images are being viewed.
I could get very technical here, but the simple reason our images sometimes look out of focus is almost always because they are being viewed at larger than their original size.
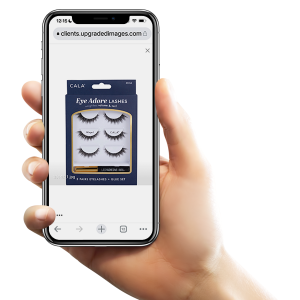
Images in our preview links – When we’re finished taking photos, we’ll email a link to a client gallery where the images can be reviewed. Because this is just a preview gallery, the images aren’t all that large.
I totally get that everyone wants to look very closely at every detail of the images before either purchasing them or requesting changes, but enlarging the photos to get a closer look will cause the images quality to decrease.
Note that I’m not talking about clicking on the thumbnail image to view the full-sized image. I’m talking about either taking a screen capture of the preview image and zooming way into it or pinching into the image on a phone, tablet or touchscreen computer.
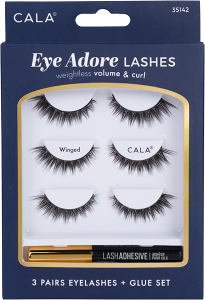 Images that have been purchased and downloaded – When we provide the download link to photos that have been approved and purchased, we always provide multiple sizes of every photo. With our Take Me Online™ package, the largest image is up to 1,500×1,500 pixels large. With our Take Me Everywhere™ package, the images are often over 5,000 pixels large.
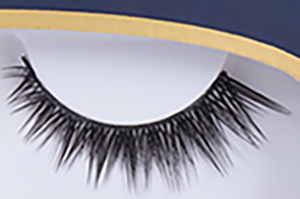
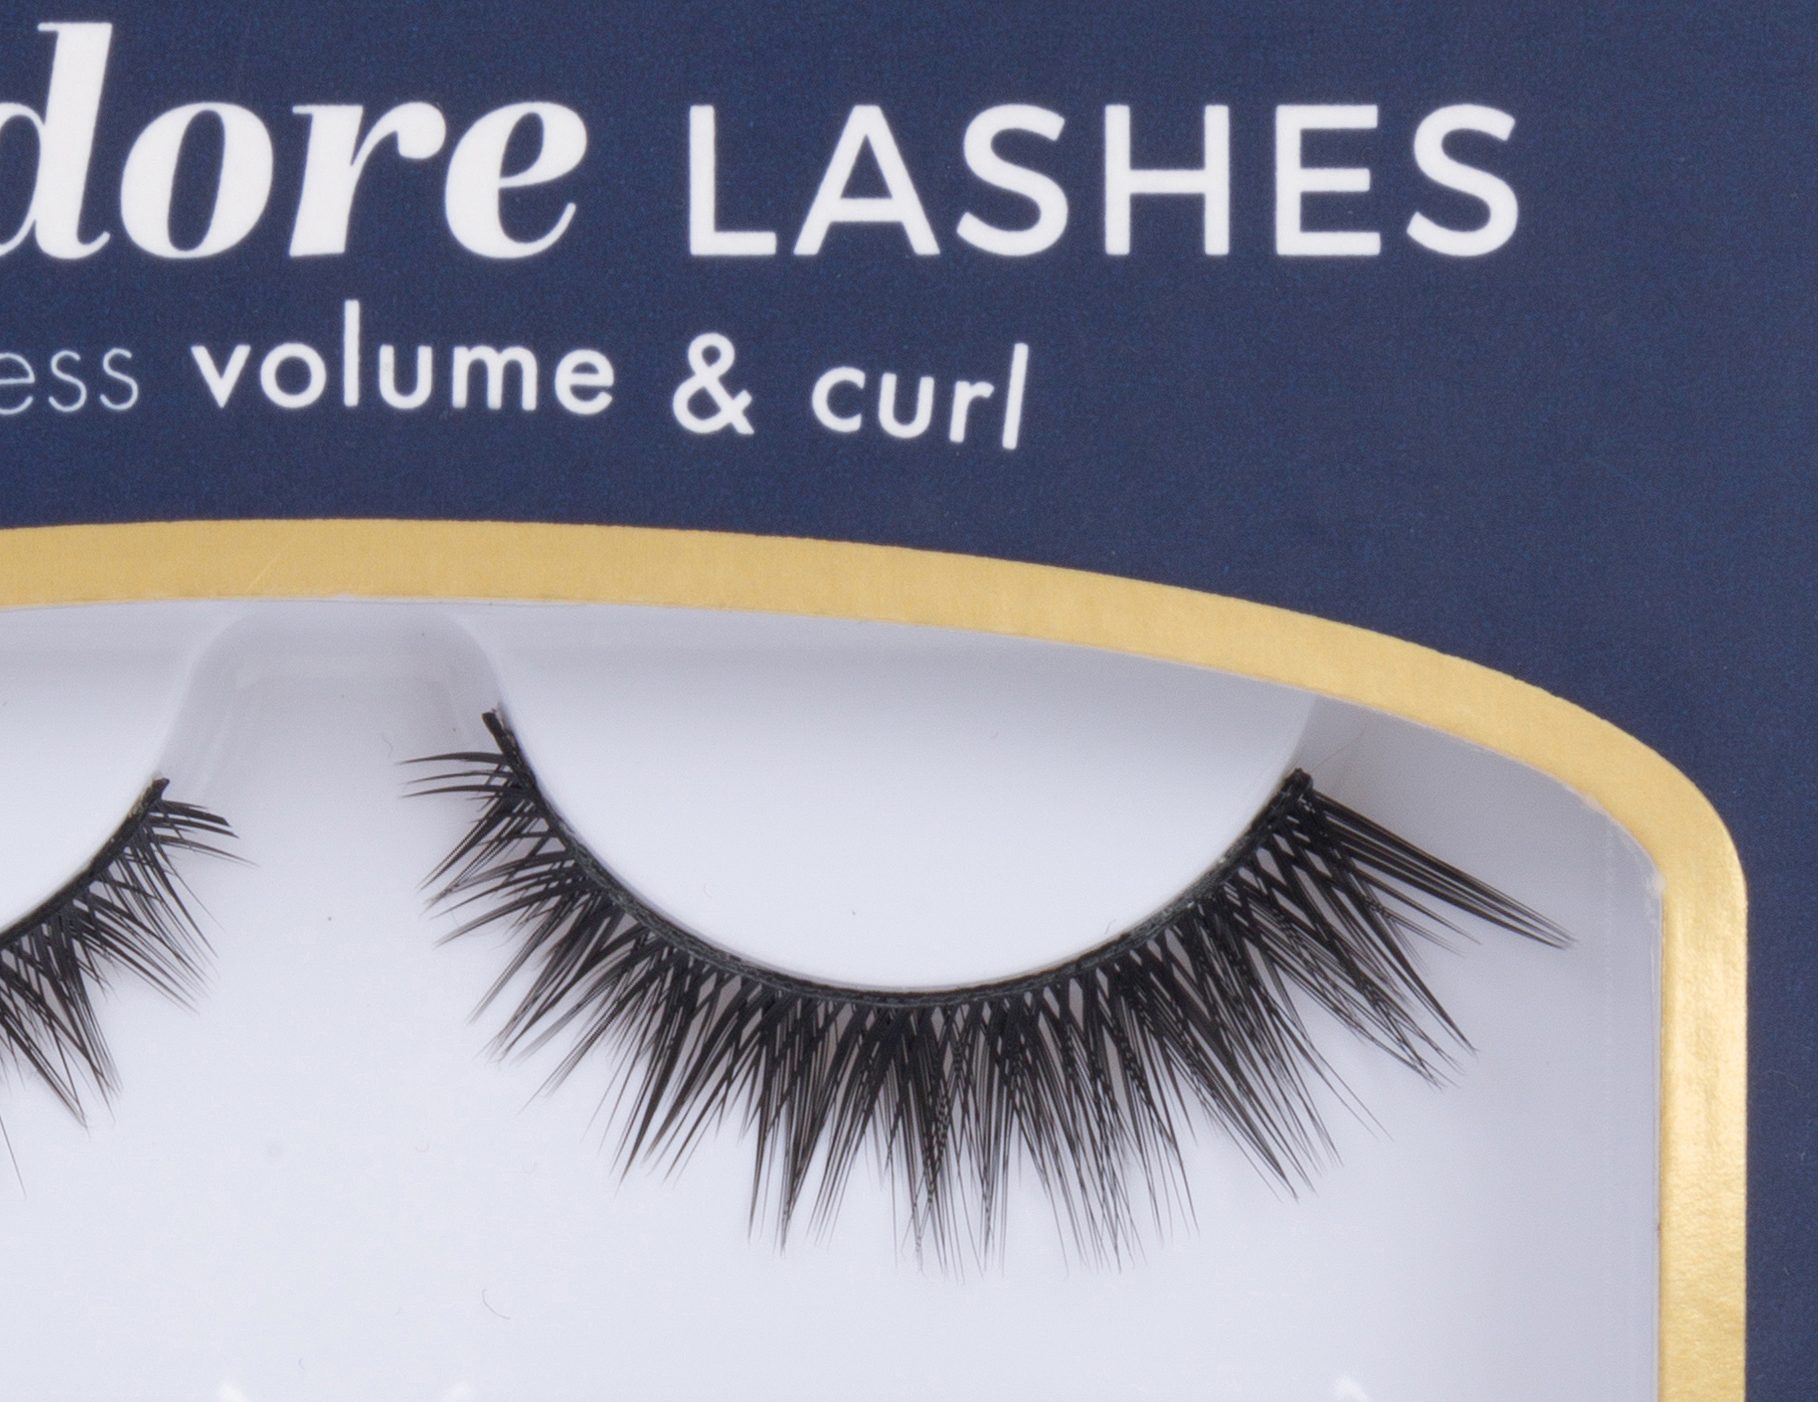
Even though the download link contains much larger images than the ones in the preview gallery, a lot of our clients still like to zoom into them very closely to check out some of the fine details. I recently discussed the issue with a client on the phone and found out that they were viewing their images at 600%! That’s 6x larger than the images are supposed to be viewed.
The more a photo is enlarged beyond it’s original (100%) size, the worse it will start to look.
Again, I could get way more technical here, but that’s the bottom line. For clients who want to be able to fill their computer screen with a very small section of their product, I usually recommend taking a separate close-up photo.